

A lead generation form in WordPress should collect the details your team needs while making it easy for visitors to enquire. This guide covers field planning, conditional logic, notifications and testing.
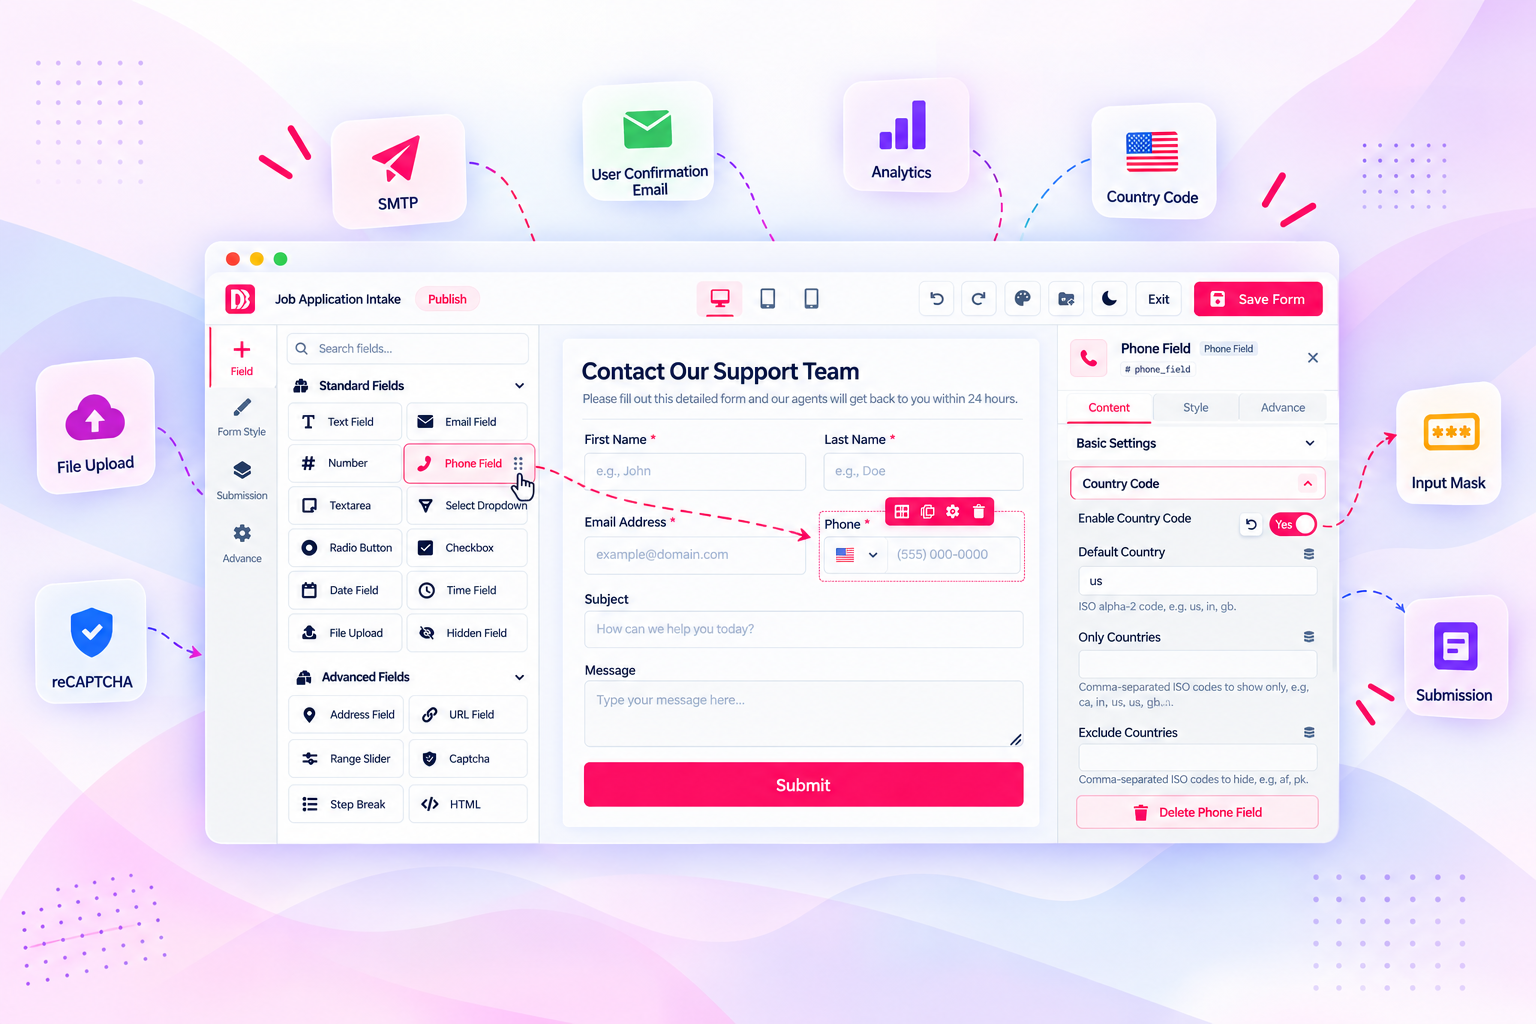
A well-planned lead generation form in WordPress can collect the details your team needs without overwhelming visitors.
A lead generation form helps a business collect enquiries from people who are interested in a product or service. On a WordPress website, it can be used for consultation requests, quote requests, demo bookings, newsletter signups and other conversion goals.
Creating a form is straight
Lead generation form in WordPress
Use the steps and checks in this guide to choose an approach that fits your website, then test the result with real form or chat interactions.
Recommended plugin for this workflow
Smart Form Builder by Dragwyb provides a related WordPress solution. You can also review its WordPress.org plugin details and advanced information.
forward. Creating one that collects useful information without discouraging visitors takes more planning. This guide explains how to build a lead generation form in WordPress, choose the right fields and test the experience before publishing.
What should a lead generation form include?
Start with the minimum information your team needs to follow up. A typical service enquiry form might include:
- Name
- Business email address
- Phone number, if a call is part of your follow-up process
- Service or product of interest
- A short description of the visitor’s requirement
- A consent checkbox where required for your communication and data-processing practices
Do not ask for information just because a form builder makes it possible. Every extra field should have a clear purpose.
Step 1: Define the goal of the form
Decide what should happen after a visitor submits the form. For example, a consultation form may notify a sales team, while a quote request may collect project details for an estimate.
Write down the information your team needs to qualify and respond to the enquiry. This becomes your field plan and helps prevent the form from growing unnecessarily.
Step 2: Choose a WordPress form builder
You can build lead forms with a dedicated form plugin. Compare the editor, available fields, submission storage, email notifications, spam protection, conditional logic, multi-step support and export options.
Smart Form Builder by Dragwyb is one option for creating WordPress forms. Its product information describes a visual drag-and-drop editor, multi-step forms, conditional logic, pre-made templates and submission storage. Review the current plugin version and feature availability before choosing it for a production workflow.
Explore Dragwyb Smart Form Builder.
Step 3: Create the form and add essential fields
Open your form builder and create a new form or start from a relevant template. Add the fields from your plan and use clear labels.
Use field types that match the information
- Name: Use a name field or a suitable text input.
- Email: Use an email field so the input can be validated as an email address.
- Phone: Use a phone field when a phone follow-up is genuinely needed.
- Service selection: Use radio buttons or a select field when visitors choose one option from a short list.
- Project details: Use a textarea for longer answers.
- Consent: Use a clearly worded checkbox where appropriate.
Step 4: Use conditional logic to keep the form relevant
Conditional logic can show or hide follow-up questions based on an earlier answer. For example, if a visitor selects Website Design, the form can ask about the current website and desired pages. If they select Maintenance, it can ask about the site’s platform and support requirements.
Keep conditions easy to understand. Test every path, including changing an earlier answer after completing a later field. Make sure hidden fields do not remain unexpectedly required or appear in notifications when they are not relevant.
Step 5: Split longer forms into multiple steps
If a form needs several groups of information, a multi-step layout can make it easier to follow. A simple project enquiry could use these steps:
- Contact details: Name and preferred contact method.
- Project information: Service, budget range if needed, and timeline.
- Additional details: A short description and relevant attachments if supported.
- Review and submit: Confirm the information and send the enquiry.
Use clear step titles and show visitors how far they have progressed. Do not split a short form into several screens without a good reason.
Step 6: Configure notifications and submission storage
Decide who should receive a new lead notification and what information should be included. Use a monitored business email address and test delivery. If the form builder stores entries, review who can access them, how they can be exported and how long they should be retained.
Do not assume that a successful on-screen message guarantees email delivery. Send test submissions and verify that the notification reaches the intended inbox.
Step 7: Add spam protection and privacy information
Public forms can attract automated submissions. Use the spam-protection options supported by your form builder and test them to avoid blocking legitimate visitors.
Explain why you collect personal information and how it will be used. Collect only what you need, restrict dashboard access and define a retention process for old entries. Your privacy notice should reflect the services and integrations actually used on your site.
Step 8: Publish the form and test it
Add the form to the relevant page using the builder’s supported block, shortcode or integration. Then test the full visitor journey:
- Submit the form with valid information.
- Try invalid email addresses and missing required fields.
- Test every conditional path.
- Move forward and backward through each form step.
- Confirm the success message appears.
- Verify notifications and stored entries.
- Test keyboard navigation and mobile layouts.
How to improve lead form completion
Keep the form focused
Ask only the questions needed for the next step. You can collect more detail during a follow-up conversation.
Explain why you need a phone number
If a phone number is optional, say so. If a call is required, explain what the visitor can expect and when your team will contact them.
Use helpful labels and instructions
Use plain language and short instructions. Avoid relying on placeholder text as the only label because it disappears when visitors type.
Make the submit action clear
Use an action-oriented button label such as Request a Quote or Book a Consultation. Make sure the button remains visible and easy to tap on mobile.
Measure meaningful outcomes
Track qualified enquiries and successful follow-ups, not just the number of submissions. A form that produces fewer but more relevant leads may be more useful than one that collects large volumes of low-intent messages.
To improve a lead generation form in WordPress, ask only for information that helps qualify or respond to the enquiry. Use conditional fields when a follow-up question applies only to certain answers, and explain why sensitive or detailed information is needed. Review your lead generation form in WordPress on mobile and test the notification and confirmation journey from submission to follow-up.
Keep your lead generation form in WordPress focused on the information needed to respond to a prospect. A well-tested lead generation form in WordPress should also send the right notification and confirmation after submission.
Frequently asked questions
What is a lead generation form?
A lead generation form collects contact details and relevant information from a person who may be interested in a business’s product or service.
How many fields should a lead form have?
There is no universal ideal number. Use the fewest fields that allow your team to respond appropriately. Test changes against the quality of enquiries you receive.
Should I use a multi-step lead form?
Use multiple steps when the form is long or the questions naturally belong in separate groups. For a short enquiry, a single-page form is often simpler.
Can I use conditional logic in WordPress forms?
Yes. Form builders that support conditional logic can show or hide questions based on visitor answers. Test each branch to make sure required fields and notifications behave correctly.
Final thoughts
A useful lead generation form makes it easy for visitors to express interest and gives your team enough context to respond. Start with a clear goal, ask only essential questions, use conditional logic when it reduces irrelevant fields, and test every submission path before publishing.
If you want a visual workflow for building WordPress forms with multi-step layouts and conditional logic, take a look at Smart Form Builder by Dragwyb.
For broader guidance on managing and publishing WordPress content, see the official WordPress Documentation.
