

WordPress AI agents can do more than generate a single response. In a workflow, an agent can receive information, use a connected language model, call configured tools, and pass structured results to later steps. For WordPress site owners, this creates a way to automate repeatable processes while keeping the workflow visible and testable. This guide explains how to design and test WordPress AI agents for practical website tasks.
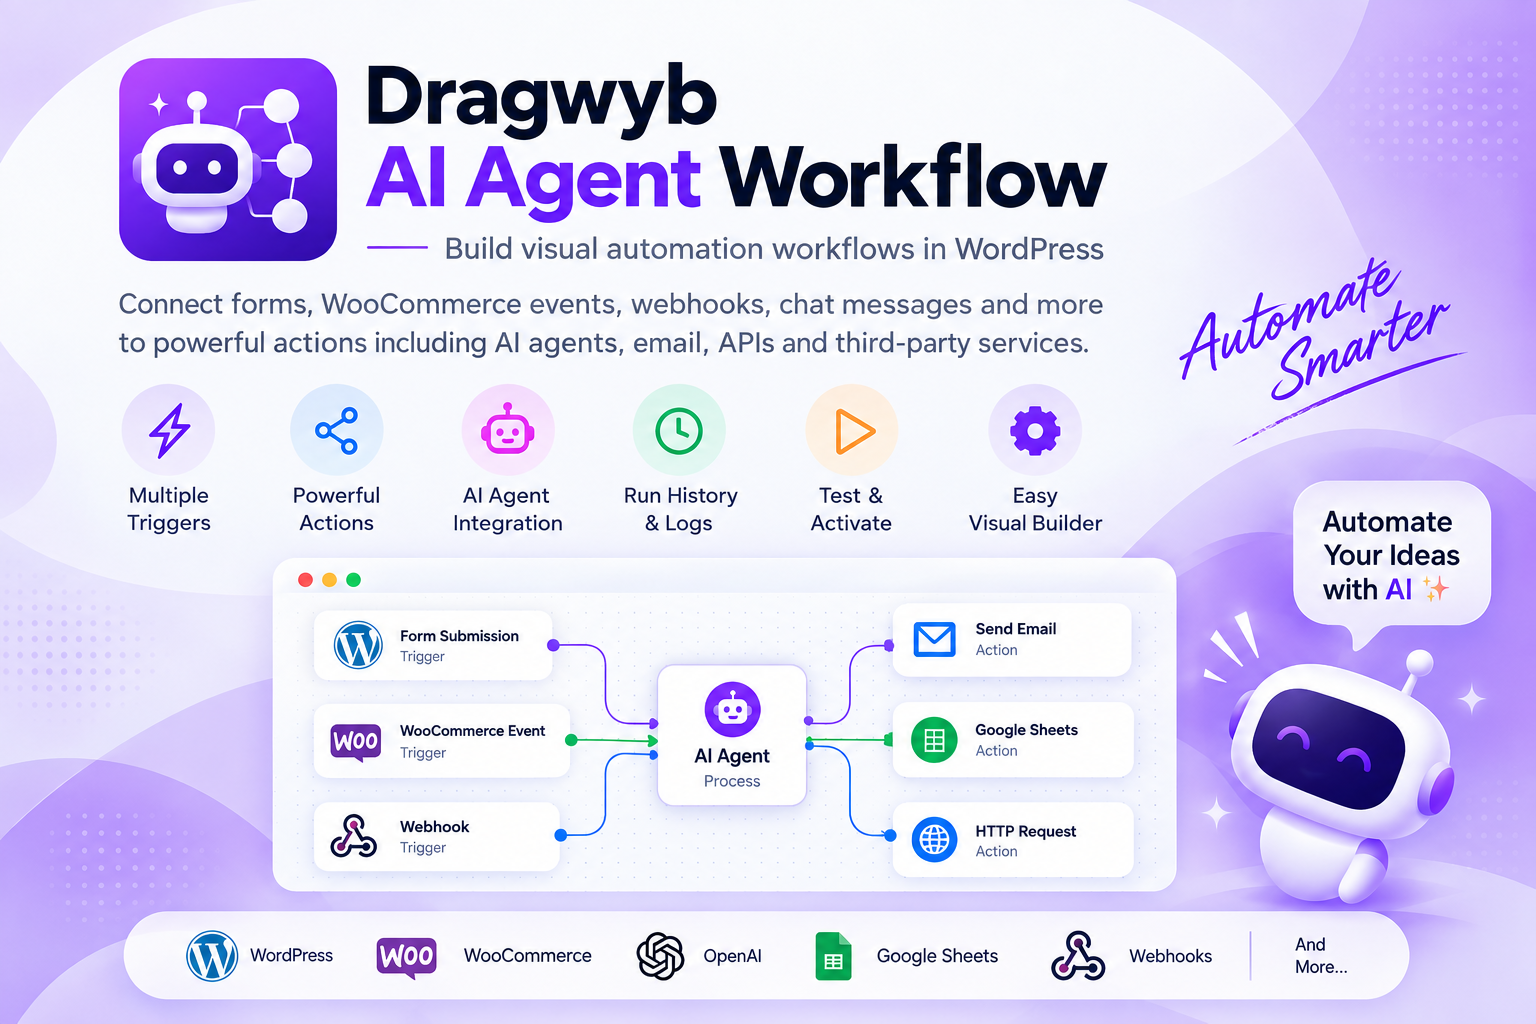
Start with one bounded task. Define what the agent can read, which tools it may call, what data it can change, and what should happen if a model response or external service fails.
This tutorial introduces the building blocks of an AI-agent workflow using the documented capabilities of AI Agent Workflows by Dragwyb. The available nodes and integrations depend on the installed plugin build and which connected services are active.
Table of Contents
How WordPress AI Agents Work in an Automation Workflow
A workflow is a sequence of connected steps. A trigger starts a run, processing or agent nodes work with the incoming data, and action nodes perform the next task. The visual editor lets you arrange these nodes, map data between them, configure integrations, save the workflow, and inspect execution history.
The AI Agent Workflows overview describes the Workflows, Workflow Editor, Connections, Webhooks, Runs, and Settings screens.
Understand the main workflow components
- Triggers start a workflow after a supported WordPress event, integration event, chat message, or incoming webhook.
- AI Agent nodes run prompt-driven tasks using a connected chat model and optional attachments.
- Tools and condition nodes provide logic, checks, and routing where supported.
- Action nodes carry out registered tasks such as sending a request or invoking an integration.
- Connections store credentials or connection records used by supported integrations.
- Runs provide execution history and details that help diagnose failures.
Choose a practical first automation
Start with a workflow that has a clear input and a low-risk outcome. For example, a form-submission workflow could receive a submission event, ask an AI model to classify the enquiry, route it according to a condition, and prepare a notification. Do not begin by allowing an untested agent to send customer messages or change important records automatically.
Create a workflow and select a trigger
- Open the Workflows screen and create a workflow.
- Open the Workflow Editor and select a trigger that matches the event you want to handle.
- Review the trigger’s available data fields and identify only the information later steps need.
- Add the required processing, condition, agent, and action nodes.
- Connect the nodes and map the relevant fields between steps.
- Save the workflow and test it with sample data before activation.
Use the Triggers and Event Sources guide to review the documented trigger categories. The documentation lists native WordPress events, WooCommerce events, supported form integrations, chat messages, and incoming webhooks; optional integrations appear only when their required plugin is active.
Connect an AI model to an agent
An AI Agent node needs a connected chat model to run. The documented provider options include OpenAI and Google Gemini, plus OpenAI-compatible integrations for DeepSeek, Groq, and OpenRouter. Available model choices are retrieved from the selected provider and can change.
- Add an AI Agent node to the canvas.
- Add and connect a supported Chat Model.
- Configure the agent’s prompt source and instructions.
- Attach tools only when the agent needs to perform a configured action.
- Optionally attach memory, a fallback model, or a structured output parser when the task requires them.
- Test the node and inspect its response before connecting it to consequential actions.
Follow the AI Providers and Agent Actions guide and Build Multi-Step AI Agents guide for the exact configuration steps.
Use conditions to control workflow routing
Not every incoming event should follow the same path. A Condition node can evaluate configured rules and direct execution to a selected branch. The documentation also describes a Router node for matching values against configured routes. Treat a condition branch as an explicit routing decision; it is not automatic recovery from a failed action.
Read the Conditions and Branching guide and test both matching and non-matching cases. Configure a No Condition Matched target when the workflow needs a deliberate fallback branch.
Test and troubleshoot before activation
- Use sample or staging data before processing live customer records.
- Check that required model and integration connections are valid.
- Inspect each node’s output and mapped input fields.
- Test successful, unmatched, and error scenarios.
- Review execution history in Runs and open run details when troubleshooting.
- Send external services only the data required for the task.
A saved API key does not prove that a complete workflow works. The provider documentation recommends testing the node or workflow and reviewing the result before connecting it to actions that send or change data.
A safe first project
A useful first project is an internal enquiry classifier: receive a test submission, ask an AI model to return a category and short summary, route the result to different internal branches, and log the outcome. Keep external communication and record-changing actions disabled until the workflow has been tested and reviewed.
WordPress AI agents should receive only the permissions required for their task, especially when a workflow can update posts, user records, or store data.
For reliable WordPress AI agents, validate tool inputs, handle API failures, and record enough execution detail to troubleshoot unsuccessful runs.
Start WordPress AI agents with a narrow workflow such as classifying a form enquiry or drafting an internal summary before allowing higher-impact actions.
Test WordPress AI agents with missing fields, unexpected responses, and repeated events so the workflow behaves safely outside the ideal path.
Conclusion
AI Agent Workflows provides a visual way to connect WordPress events, AI processing, conditional routing, and integrations. Start with a small workflow, map only necessary data, test every branch, and expand gradually. Explore the official AI Agent Workflows documentation for node-specific guides.
When an agent needs to interact with WordPress data or external services, review the WordPress REST API handbook and the OpenAI function calling guide for useful integration concepts.
