

Conditional forms in WordPress show visitors only the questions that apply to their answers. This guide explains how to plan form paths, configure conditions and test each branch.
Conditional forms in WordPress
Conditional forms in WordPress should make the form clearer and easier to complete. Follow the recommendations in this guide and test the interaction with real form submissions.
Long forms can overwhelm visitors when they show questions that do not apply to everyone. A better approach is to display only the fields that are relevant to the visitor’s answers. This is the purpose of conditional forms in WordPress.
With conditional logic, a form can reveal follow-up questions when someone selects a particular service, chooses a specific option or answers yes to a qualifying question. This guide explains how to plan, build and test a conditional form without making the experience confusing.
What is a conditional form?
A conditional form changes what a visitor sees based on their earlier input. For example, a quote request form might ask whether the visitor needs a new website or help with an existing one. If they choose a new website, the form can show questions about pages and design. If they choose maintenance, it can ask about the current platform and support requirements.
Conditional logic can show or hide fields, reveal groups of questions, or route visitors through different form paths, depending on the capabilities of the form builder.
Why use conditional logic in WordPress forms?
- Keep forms relevant: Visitors see questions that relate to their situation.
- Reduce unnecessary fields: Avoid asking every visitor the same long list of questions.
- Collect better context: Ask targeted follow-up questions based on the selected service or requirement.
- Support different workflows: Use one form for several related enquiry types when the paths are manageable.
- Improve clarity: Break complex requests into logical questions instead of presenting everything at once.
Conditional logic does not automatically guarantee more conversions. The questions, layout and number of steps still matter, so test the completed form with real users where possible.
Step 1: Plan the form paths before building
Start by writing down the main question that determines which follow-up fields should appear. Keep the first choice simple and mutually understandable.
For a service enquiry, the first question could be: What do you need help with? Options might include Website Design, Website Maintenance and SEO Services.
Then map the follow-up questions for each option. For example:
- Website Design: Ask about the number of pages, preferred launch date and whether the visitor has existing branding.
- Website Maintenance: Ask for the website URL, platform and type of issue.
- SEO Services: Ask about the website, target market and main SEO objective.
Do not create a separate branch for every minor variation. Too many conditions make forms harder to maintain and test.
Step 2: Choose a WordPress form builder with conditional logic
Not every form plugin includes conditional logic in its free or paid version. Before choosing one, check whether it can conditionally show or hide individual fields or groups, how it handles required fields in hidden groups, and whether conditions work with the field types you need.
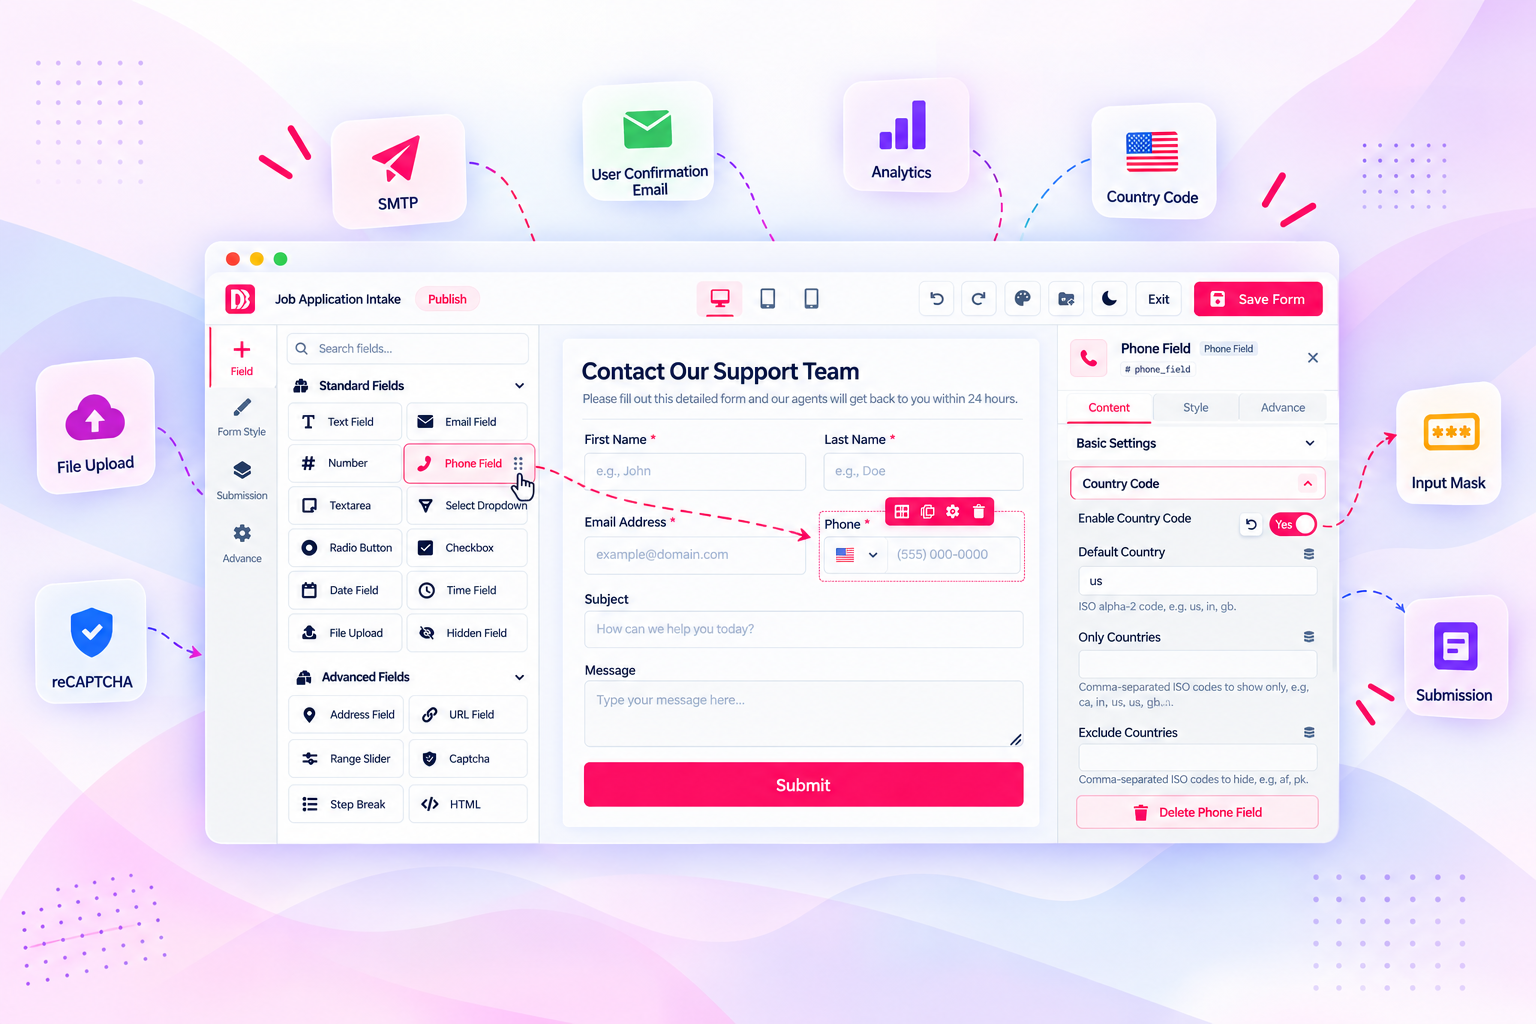
Smart Form Builder by Dragwyb includes conditional logic alongside its visual form-building workflow and multi-step form capabilities. Check the current plugin release and documentation for the available condition types and configuration controls.
Explore Smart Form Builder by Dragwyb.
Step 3: Create the form and add the first question
Create a new form and add the fields every visitor needs to answer. Usually this includes a name or contact method and the main question that determines the next part of the form.
Use clear labels and concise options. If visitors need context to answer correctly, add short help text next to the field rather than relying on ambiguous option names.
Step 4: Add the conditional fields
Add the follow-up fields for each branch. Group related questions together and give each group a clear purpose. Depending on the builder, you may be able to apply a condition to an individual field or an entire group.
For example, configure the Website Design group to appear when the service field equals Website Design. Configure the Maintenance group to appear when the same field equals Website Maintenance.
Use the exact field and comparison values provided by the form builder. Avoid creating conditions that depend on a label’s display text if the builder offers a stable option value.
Step 5: Configure required fields carefully
A common conditional-form problem occurs when a field is marked required but is hidden for a particular visitor. The form should not block submission because of a required field that the visitor cannot see or complete.
Check how your form builder handles validation for hidden fields. Test each branch with the conditional group hidden and visible. Also check what happens when a visitor changes an earlier answer after filling out a later field.
Step 6: Add conditional logic to a multi-step form
If the form contains several stages, use steps only when they make the experience easier to understand. A project enquiry might have a Contact Details step, a Project Type step and a Relevant Questions step.
Some builders support conditions that control which fields or steps appear. If yours does, make sure visitors cannot get stuck on an empty step or skip required information unexpectedly. Always test forward and backward navigation.
Step 7: Configure notifications and stored submissions
Decide which details your team needs in the notification email and whether submissions should be stored in the WordPress dashboard. If conditional fields are hidden, check whether their empty values are omitted or included in the email and entry record.
Use a monitored recipient address, protect access to stored personal data and define an appropriate retention policy. Send test submissions for every branch and verify the resulting email and saved entry.
Step 8: Test every possible path
Do not test only the first option. Create a test checklist for each branch:
- Select each available answer and confirm the correct fields appear.
- Change the first answer after completing a conditional group.
- Try submitting with required fields empty.
- Confirm hidden required fields do not prevent submission.
- Check that the correct information appears in notifications and stored entries.
- Test on mobile, desktop and with keyboard navigation.
- Check the success message and any redirect after submission.
Common conditional form mistakes
Showing too many questions at once
Use conditional groups to keep the form focused. If every branch still displays most of the same fields, reconsider whether the conditions are useful.
Forgetting hidden required fields
Check validation behavior when a field or group is hidden. A visitor should not be asked to complete an invisible field.
Creating overlapping conditions
Review the logic when several conditions can match at the same time. Make sure the resulting form state is intentional and predictable.
Not testing changed answers
A visitor may select one option, fill in the revealed fields and then change the original answer. Confirm that stale values are handled as expected and are not accidentally included in the submission.
When designing conditional forms in WordPress, map each answer to the follow-up fields it should reveal and decide what happens when a visitor changes an earlier answer. Test every branch, including paths where optional fields stay hidden. Well-planned conditional forms in WordPress should collect only relevant information without accidentally making hidden fields required.
Before publishing, test conditional forms in WordPress with every possible answer path. Reliable conditional forms in WordPress should reveal the right fields and avoid requiring inputs that remain hidden.
Frequently asked questions
Can I create conditional forms in WordPress?
Yes. Use a form plugin that supports conditional logic. Depending on the plugin, conditions can show or hide individual fields, field groups or form steps.
Can I use conditional logic with multi-step forms?
Some form builders support both features. Check whether conditions can affect fields across steps and test navigation when a step becomes hidden.
Do conditional forms improve conversions?
They can make a long form feel more relevant by hiding unnecessary questions, but results depend on the form’s design and audience. Measure completion and lead quality rather than assuming the change will improve conversions.
Can hidden required fields stop a form from submitting?
They can if the form builder does not handle conditional validation correctly. Test each path and confirm hidden fields are excluded from required-field validation where appropriate.
Conditional form testing checklist
Conditional logic should be tested as a set of complete visitor journeys, not only by checking whether a field appears. Change earlier answers after completing later fields, submit both valid and invalid combinations, and confirm that hidden inputs do not block submission.
- Test every condition and its alternative path.
- Change an answer and confirm dependent fields update correctly.
- Check required-field rules when a field is hidden.
- Verify notifications contain the answers relevant to that path.
- Test the form on mobile and with keyboard navigation.
For forms that collect personal or business information, request only the details needed for the selected path. Review where submissions are stored and who can access them. Clear conditions and careful testing help keep a conditional form useful without making it confusing or collecting unnecessary information.
Final thoughts
A good conditional form asks a clear opening question and reveals only the follow-up information needed for that visitor. Plan the branches first, configure required fields carefully and test every path before using the form to collect real enquiries.
If you want to build WordPress forms with a visual editor, conditional logic and multi-step layouts, explore Smart Form Builder by Dragwyb.
Recommended plugin and official resources
To add these form design capabilities, explore Smart Form Builder by Dragwyb. Review its current features and compatibility on the official WordPress.org plugin page.
For additional guidance, see the WordPress Documentation.
