

To add live chat to WordPress, first decide whether you need a real-time agent inbox, an AI chatbot or a button that opens a messaging app. This guide walks through the available setup methods.
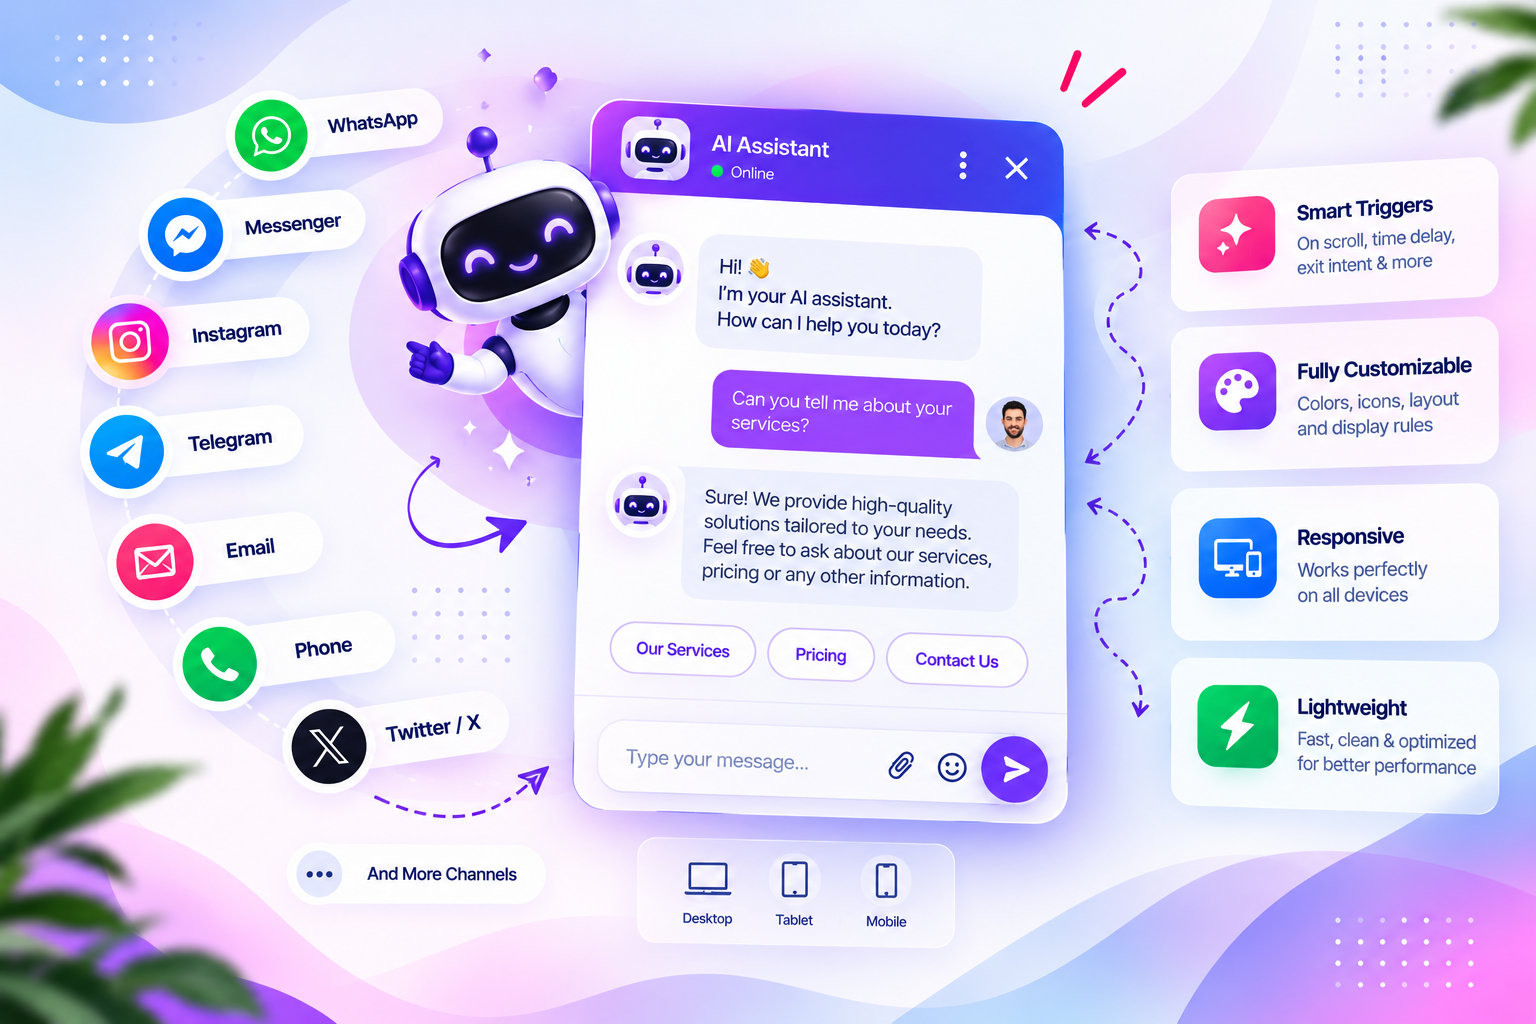
This guide explains how to add live chat to WordPress using a plugin, an embedded widget or a click-to-chat tool.
Adding live chat to WordPress can make it easier for visitors to ask questions while they browse your website. It can also help a sales or support team respond before a visitor gives up and leaves.
There are several ways to add chat to a WordPress site. You can install a plugin that c
Add live chat to WordPress
Use the steps and checks in this guide to choose an approach that fits your website, then test the result with real form or chat interactions.
Recommended plugin for this workflow
Dragwyb Click to Chat provides a related WordPress solution. You can also review its WordPress.org plugin details and advanced information.
onnects to a live-chat service, embed a provider’s widget, use an AI chatbot, or add a click-to-chat button that opens a messaging app. The right method depends on how you want conversations to be handled.
Before you add chat, choose the right type
- Live chat: A visitor sends a message and a human agent replies through an inbox.
- AI chatbot: An automated assistant answers questions using its instructions or configured knowledge sources.
- Click-to-chat: A visitor selects a button to open WhatsApp, Telegram or another communication channel.
- Helpdesk: A visitor submits a support request that is tracked as a ticket.
These tools can work together, but they solve different problems. If you need a human to reply in real time, choose a provider with an agent inbox. If your team mainly responds through WhatsApp, a click-to-chat widget may be more appropriate.
Method 1: Install a WordPress live chat plugin
Step 1: Choose a chat provider
Compare providers based on agent seats, conversation limits, mobile apps, chat history, routing, integrations, pricing and privacy. Check whether the WordPress plugin is maintained and compatible with your WordPress version.
Step 2: Install the plugin
In your WordPress dashboard, open Plugins → Add New Plugin. Search for the provider’s official plugin, review the author and listing, and select Install Now. Activate it after installation.
Step 3: Connect your provider account
Many live-chat plugins connect WordPress to an account hosted by the provider. Follow the provider’s instructions to sign in or connect the correct website. Do not paste account secrets into an unrelated plugin field or share API keys in screenshots.
Step 4: Configure the chat widget
Set the widget’s position, color, greeting, language and availability. If the provider supports page targeting, decide whether the chat should appear everywhere or only on important pages such as product, pricing or contact pages.
Step 5: Add agents and availability
Invite the people who will answer chats and configure their availability. If your team cannot respond outside business hours, show an offline message or a realistic response expectation.
Step 6: Test the live chat
Open your website in a private browser window and send a test message. Confirm that it reaches the correct inbox, that the agent can reply, and that the visitor sees the response. Test on mobile as well as desktop.
Method 2: Add a chat widget using an embed code
Some providers offer a JavaScript snippet instead of a dedicated WordPress plugin. The general process is:
- Create or sign in to an account with the chat provider.
- Register your website in the provider dashboard.
- Copy the official widget installation snippet.
- Add it using the provider’s recommended WordPress integration or a trusted script-management method.
- Publish the change and verify that the widget appears only where intended.
Use the provider’s current instructions. Avoid placing scripts directly into a parent theme file that will be overwritten by theme updates. Do not install the same widget through both a plugin and a manual snippet, because duplicate installation can create two chat launchers or load scripts twice.
Method 3: Add a click-to-chat widget with Dragwyb
If your team prefers to receive enquiries through messaging apps rather than operate a traditional live-chat inbox, Dragwyb Click to Chat provides a different approach. Its modules include a Social Channels Widget, an AI Assistant and a Support Center.
Step 1: Install and activate Dragwyb Click to Chat
Follow the official installation guide to install the plugin from the WordPress plugin directory or upload its ZIP package.
Step 2: Enable the module you need
In WordPress admin, open Click to Chat → Settings → General. Enable the Social Channels Widget if you want contact buttons. Enable the AI Assistant if you want a configured AI chatbot, or the Support Center if you need ticket-based support. Each module has its own settings and should be configured before use.
See how to enable Click to Chat modules.
Step 3: Configure your contact channels
Open the Social Channels Widget configuration and enable the channels your business uses. Enter the correct destination details for WhatsApp, Telegram, phone, email or other supported channels. For WhatsApp, follow the WhatsApp configuration guide.
Step 4: Set widget position and visibility
Choose the floating launcher’s position and configure where it should appear. You can review the floating widget and social channel guide and visibility settings.
Step 5: Test every enabled channel
Visit a page where the widget should appear. Test each channel and verify that it opens the correct destination. Check both mobile and desktop, and make sure the widget does not cover important page controls.
Remember: a click-to-chat button opens the selected messaging destination; it is not the same as a hosted live-chat agent inbox. Choose the workflow that matches how your team responds.
How to make your WordPress chat widget more useful
Write a clear greeting
Tell visitors what they can ask. For example, a service business can invite questions about pricing, availability or project requirements. Avoid vague greetings that do not explain what happens next.
Show chat on relevant pages
A chat widget can be useful on product and service pages, but it may distract visitors during checkout or while completing a long form. Use page targeting when available.
Set response expectations
Do not imply that an agent is online if nobody is monitoring the inbox. Show business hours, an offline message or an expected response time.
Keep the widget accessible
Check keyboard access, focus visibility, text contrast and screen-reader labels. On mobile, make sure the launcher is large enough to tap and does not block navigation or consent controls.
Does live chat slow down WordPress?
A chat widget may load JavaScript, stylesheets, fonts and network requests from an external provider. The performance impact depends on the provider and how the widget is loaded. Test page performance before and after installation, and use provider-supported options to delay loading or restrict the widget to relevant pages when possible.
Common problems and fixes
The chat widget does not appear
Check that the plugin is active, the provider account is connected, the widget is enabled and the current page is included in display rules. Clear relevant caches and check the browser console for script errors.
The widget appears twice
Check whether the provider script was added manually as well as through the plugin. Keep one installation method and remove the duplicate.
Messages do not reach the agent
Check agent availability, routing rules, provider notifications and the connected website or inbox. Send a test from a private browser window.
The widget covers other buttons
Change its position or display rules. Check the page on smaller mobile screens and with cookie banners or sticky navigation enabled.
Before you add live chat to WordPress, decide who will answer incoming conversations and what should happen outside business hours. Test the widget on mobile, confirm that it does not cover important page controls and make sure visitors can identify the channel they are opening. When you add live chat to WordPress, also review page targeting and the handoff from an automated greeting to a human agent.
After you add live chat to WordPress, test the conversation from a visitor’s perspective and confirm the right team receives the message. The best way to add live chat to WordPress is to match the widget, routing and availability settings to your support process.
Frequently asked questions
Can I add live chat to WordPress for free?
Some providers offer free plans, but limits can apply to agents, conversations, history, branding or automation. Confirm current plan details before installing.
Can I add chat without a plugin?
Yes. Some providers supply an embed snippet that can be added through a supported script-management method. A plugin may be easier to maintain and configure.
What is the difference between live chat and WhatsApp chat?
Live chat usually keeps the conversation in a provider’s website widget and agent inbox. A WhatsApp button sends the visitor to WhatsApp to continue the conversation there.
Final thoughts
To add chat to WordPress, start by deciding whether you need human live chat, an AI chatbot, a messaging-app button or a helpdesk. Install one supported integration, configure the visitor experience and test the full conversation path before enabling it across your site.
